If you’re in the mood for some delicious and fudgy brownies, then this simple recipe guide is just what you need. With easy-to-follow instructions, you’ll be able to bake the perfect batch of homemade brownies in a glass pan in no time. Whether you’re a seasoned baker or just starting out, this recipe is sure to impress your taste buds.
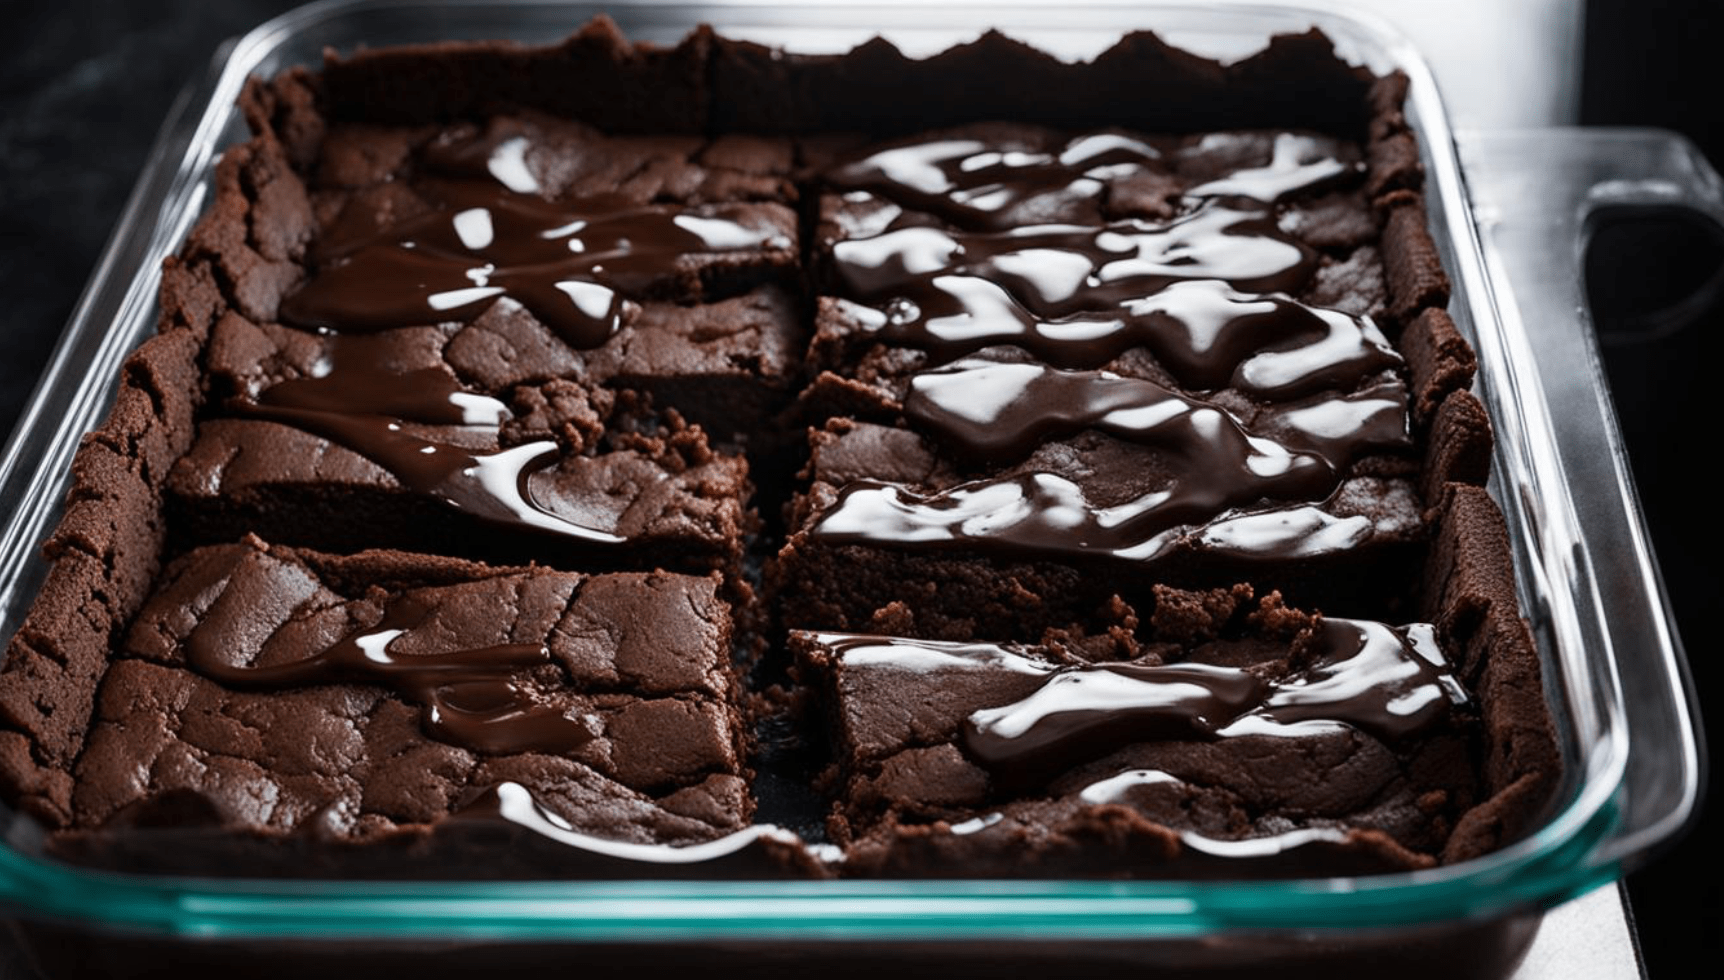
Baking brownies in a glass pan is a great way to achieve that moist and chewy texture that we all love. Plus, it’s easy to clean and makes for a beautiful presentation. Follow the steps below to bake your own batch of decadent brownies.
Key Takeaways
- Baking brownies in a glass pan creates a moist and chewy texture.
- This recipe is easy to follow, perfect for beginners or seasoned bakers.
- You can customize your brownies by adding different ingredients such as nuts or fruits.
- The proper preparation of the glass pan is essential to prevent the brownies from sticking.
- Testing for doneness is crucial to ensure the perfect texture in your brownies.
Gathering Ingredients for Perfect Brownies
Whether you’re making brownies for the first time or trying to perfect your recipe, selecting high-quality ingredients is key to achieving the best brownies. Here are the essential ingredients you’ll need for the perfect batch of brownies:
| Ingredient | Importance |
|---|---|
| Unsalted Butter | The fat content in butter is essential for creating a rich, moist texture in brownies. |
| Sugar | Sugar adds sweetness to the brownies and helps to create a crisp top layer. |
| Eggs | Eggs help to bind the ingredients together and create a fluffy texture in brownies. |
| All-Purpose Flour | Flour provides structure to the brownies and gives them a chewy texture. |
| Cocoa Powder | Cocoa powder adds the chocolate flavor to the brownies and gives them a rich, fudgy texture. |
| Salt | A small amount of salt enhances the flavor of the brownies and helps to balance the sweetness. |
| Vanilla Extract | Vanilla extract adds a subtle sweetness and depth of flavor to the brownies. |
When selecting these ingredients, opt for high-quality options to ensure the best possible taste and texture. Look for unsalted butter, pure vanilla extract, and high-quality cocoa powder.
Now that you have a list of ingredients to work with, let’s move on to the next step in our easy brownie recipe guide and prepare your glass pan for baking.
Preparing Your Glass Pan for Baking
Properly preparing your glass pan before baking is essential for achieving gooey and fudgy brownies. Here’s how to do it:
Greasing Your Glass Pan
The first step is to grease your glass pan to prevent the brownies from sticking. You can use butter, cooking spray, or oil for greasing. Here’s how to do it:
- Take a small amount of butter, cooking spray, or oil on a paper towel or brush.
- Apply it evenly on the bottom and sides of the pan.
- Make sure the entire surface is greased to prevent any sticking.
Lining Your Glass Pan
While greasing the pan is usually enough, you can also line your glass pan to make sure your brownies come out perfectly every time. Here’s how to line your glass pan for baking:
- Cut a piece of parchment paper or aluminum foil to fit the bottom of the pan.
- Place the cut-out paper or foil on the greased surface of the pan.
- Press the paper or foil down to ensure it sticks to the greased surface.
- Repeat the process for the sides of the pan, making sure the paper or foil extends beyond the edges of the pan.
Now that your glass pan is properly prepared, you’re ready to mix up your brownie batter.
Mixing the Brownie Batter
Now that you have gathered all the necessary ingredients, it’s time to mix the batter for your homemade brownies. Follow these step-by-step instructions to achieve the perfect texture:
- Preheat your oven to 350°F (175°C).
- In a large bowl, whisk together 1 cup of melted unsalted butter and 2 cups of granulated sugar until well combined.
- Add 4 large eggs, one at a time, whisking well after each addition.
- Gently whisk in 1 1/4 cups of unsweetened cocoa powder until the mixture is smooth and shiny.
- Add 1 teaspoon of vanilla extract and 1/2 teaspoon of salt, and whisk until everything is fully combined.
- Sift 1 cup of all-purpose flour into the bowl and use a rubber spatula to gently fold it in until no pockets of flour remain. Be careful not to overmix, as this can result in tough brownies.
- If desired, add in 1 cup of chocolate chips or chopped chocolate for extra richness and texture.
Once your batter is mixed, it’s time to pour it into your prepared glass pan and bake according to the instructions in section 6.
Pro Tip: For extra fudgy brownies, refrigerate the batter for 20-30 minutes before pouring it into the glass pan.
Adding Chocolate for Extra Decadence
Who doesn’t love a rich, chocolatey brownie? In this section, we’ll explore different ways to add chocolate to your brownie batter to create the best brownies ever.
Chocolate Chips or Chunks
One of the easiest ways to add chocolate to your brownies is by using chocolate chips or chunks. Fold in a cup of chocolate chips or chopped chocolate chunks into the batter for an extra gooey and chocolatey flavor.
For best results, choose high-quality chocolate that melts easily and has a rich, smooth flavor. Semi-sweet or dark chocolate chips or chunks work well with the fudgy texture of brownies, but if you have a sweet tooth, you can use milk chocolate instead.
Cocoa Powder
If you prefer a more intense chocolate flavor, you can use cocoa powder in your brownie batter. You will need ½ to ¾ cup of high-quality unsweetened cocoa powder to replace some of the flour in the recipe.
Mix the cocoa powder with the flour and other dry ingredients before adding the wet ingredients to ensure an even distribution. Using cocoa powder will give your brownies a chewier texture with a deep, rich flavor.
Dark Chocolate Topping
If you can’t get enough of that dark chocolate flavor, try adding a layer of melted dark chocolate on top of your brownies. Once your brownies are cooled and cut, melt 1 cup of dark chocolate chips in a bowl over simmering water.
Pour the melted chocolate over the brownie slab and spread it evenly with a spatula. Allow the chocolate to set in the fridge for at least 20 minutes before cutting into pieces. The result is a completely indulgent and rich brownie experience.
Conclusion
With these simple chocolate additions, you can take your brownie game to the next level. Try experimenting with different types of chocolate and see which one you like best. Whether it’s chocolate chips, cocoa powder, or a chocolate topping, your brownies are sure to be a hit!
Baking Time and Temperature
Properly timing and setting the correct temperature for baking brownies in a glass pan is crucial to achieving the perfect texture. Over-baking brownies can dry them out, while under-baking can lead to a gooey mess.
The ideal time and temperature may vary depending on your oven and the recipe you’re following. Typically, brownies baked in a glass pan require a slightly lower temperature and longer baking time compared to metal pans.
Tip: To test the temperature accuracy of your oven, use an oven thermometer.
Most recipes recommend baking brownies in a preheated oven set to 350°F (180°C). However, if you’re using a glass pan, it’s best to set the oven to 325°F (160°C) to avoid uneven baking and over-browning.
As for the baking time, the average time for baking brownies in a glass pan is around 25-35 minutes. It’s essential to keep a close eye on the brownies towards the end of the baking time to prevent overcooking.
One way to test if your brownies are done is by inserting a toothpick in the center. If it comes out clean, it’s ready. Another way is to check if the edges are pulling away from the pan, and the top looks set.
Once your brownies are done, remove them from the oven and place them on a wire rack to cool. Avoid cutting them immediately as they need time to set and cool down.
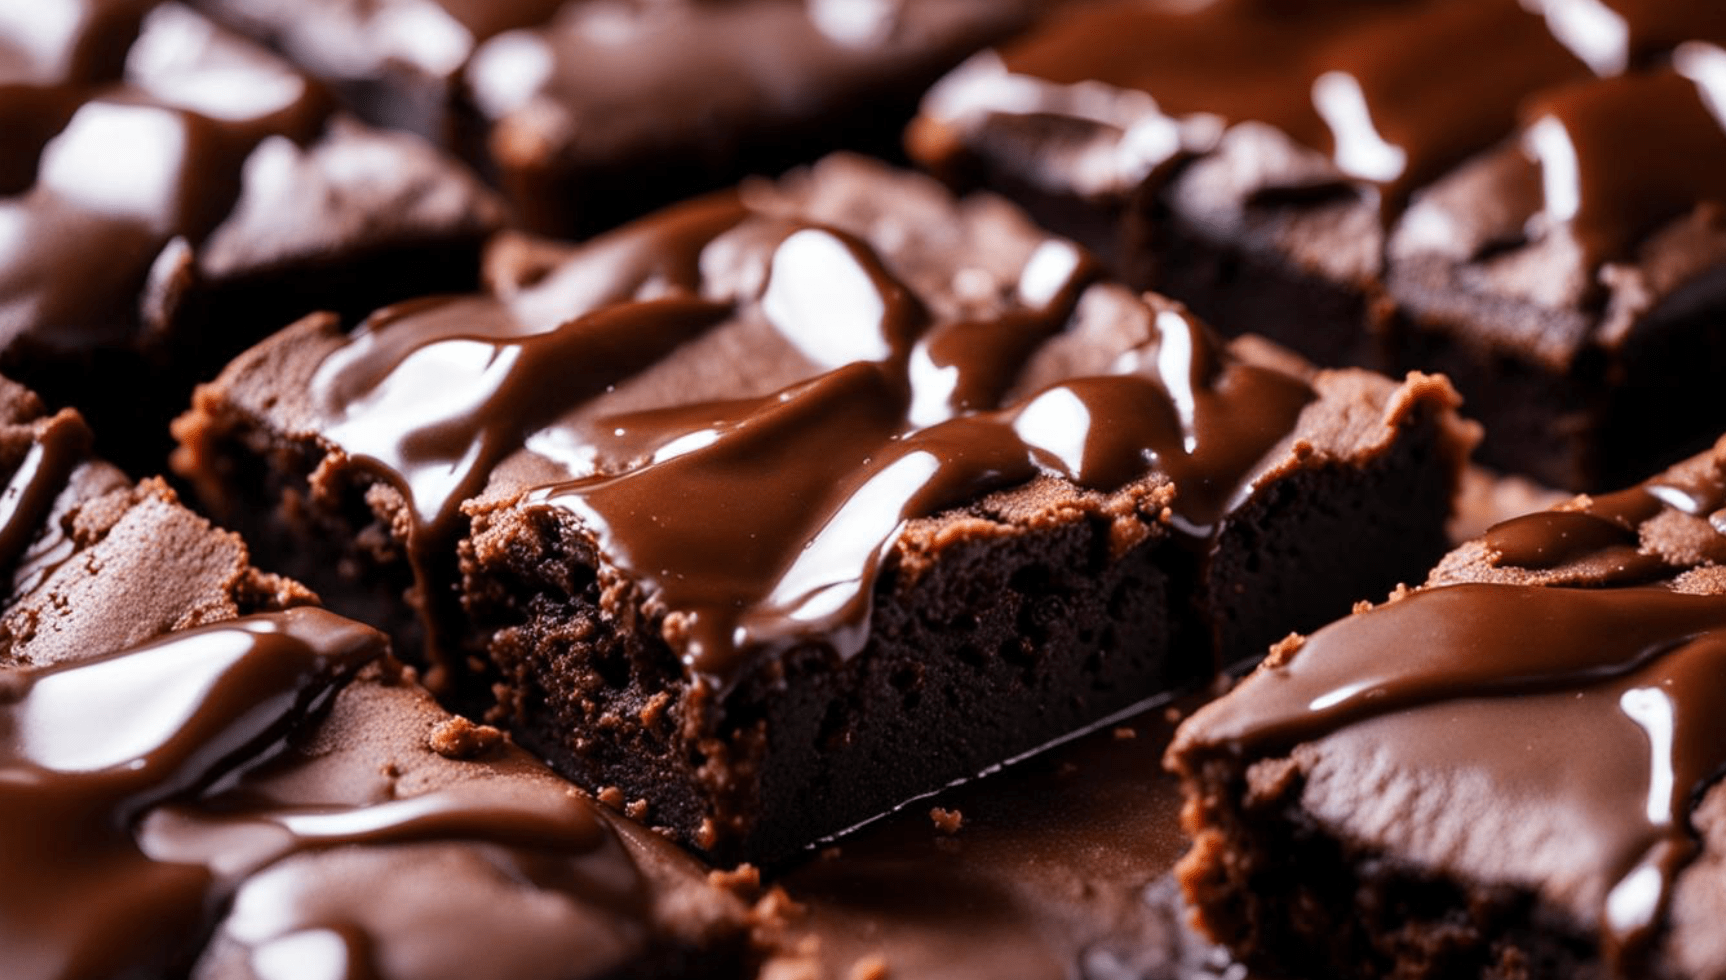
Table: Baking Time and Temperature Guidelines for Glass Pans
| Brownie Recipe | Oven Temperature | Baking Time |
|---|---|---|
| Basic Fudgy Brownies | 325°F (160°C) | 25-35 minutes |
| Cocoa Powder Brownies | 325°F (160°C) | 25-30 minutes |
| Chocolate Chip Brownies | 325°F (160°C) | 30-35 minutes |
Testing for Doneness
After baking your brownies in a glass pan, it’s important to test if they’re cooked through and ready to be enjoyed. Here are a few techniques to help you determine if your brownies are done:
- Insert a toothpick or a cake tester into the center of the brownies. If it comes out clean or with a few moist crumbs, the brownies are done.
- Press the surface of the brownies gently with your finger. If it’s firm and springs back, the brownies are done.
- Take note of the edges of the brownies. They should be slightly pulling away from the sides of the pan and have a golden-brown hue.
Keep in mind that the exact baking time and temperature may vary based on your oven and the thickness of your brownies. Use the techniques above as a general guide, but trust your instincts as well. If the brownies look and smell done, they probably are.
Tip: If you’re unsure if your brownies are done, it’s better to err on the side of caution and underbake rather than overbake them. You can always pop them back in the oven for a few more minutes if needed.
Cooling and Cutting the Brownies
After baking, it’s important to cool your brownies in the glass pan to maintain their shape and texture. Leaving them out to cool on the countertop could lead to uneven cooling and result in dry or hard brownies.
Let the brownies cool for at least 10-15 minutes in the glass pan to allow them to set. Once they have cooled, carefully lift the brownies out of the pan using the parchment paper or foil overhang. Place them on a wire rack to cool completely.
To achieve clean, even cuts, use a sharp knife. It’s best to clean the knife in between cuts to prevent the brownies from sticking to the blade. If you want to create more even portions, use a ruler to measure and mark your desired size.
Pro Tip: For an extra decadent touch, drizzle melted chocolate or caramel sauce over your cooled brownies before cutting them.
Brownie Cutting Guide
| Brownie Size | Number of Servings | Cutting Dimensions |
|---|---|---|
| Small (2-inch squares) | 16-20 | 1×1 inch |
| Medium (3-inch squares) | 9-12 | 1.5×1.5 inch |
| Large (4-inch squares) | 6-9 | 2×2 inch |
Storing Your Brownies:
To keep your brownies fresh, store them in an airtight container at room temperature for up to 3 days. For longer storage, wrap the brownies tightly in plastic wrap and place them in the freezer for up to 3 months.
Serving Your Brownies:
The possibilities are endless when it comes to serving your brownies. Some delicious options include:
- Sprinkling powdered sugar on top for a simple yet elegant look
- Serving with a scoop of vanilla ice cream for a classic brownie sundae
- Drizzling with chocolate sauce for an extra indulgent treat
- Garnishing with fresh fruit or whipped cream for a touch of freshness
Storing and Serving Your Brownies
Congratulations, you’ve successfully baked a batch of delicious homemade brownies! Now it’s time to store and serve them to maintain their freshness and flavor.
To store your brownies, wrap them tightly in plastic wrap or aluminum foil and place them in an airtight container. They can be stored at room temperature for up to three days, or in the fridge for up to a week. For longer-term storage, freeze your brownies in an airtight container for up to three months.
To serve your brownies, there are endless possibilities! You can dust them with powdered sugar, drizzle them with chocolate sauce, or top them with a scoop of ice cream. For an extra decadent experience, warm them up in the microwave for a few seconds before serving.
Another great way to serve your brownies is by turning them into a sundae. Layer chunks of brownies with vanilla ice cream, hot fudge, whipped cream, and nuts for a deliciously indulgent dessert.
For a fun twist, try cutting your brownies into bite-sized pieces and using them as a base for mini dessert skewers. Add slices of fresh fruit, marshmallows, and other sweet treats for a colorful and festive display.
Now that you know how to store and serve your brownies, it’s time to enjoy them! Don’t be afraid to get creative and try new things – your taste buds will thank you.
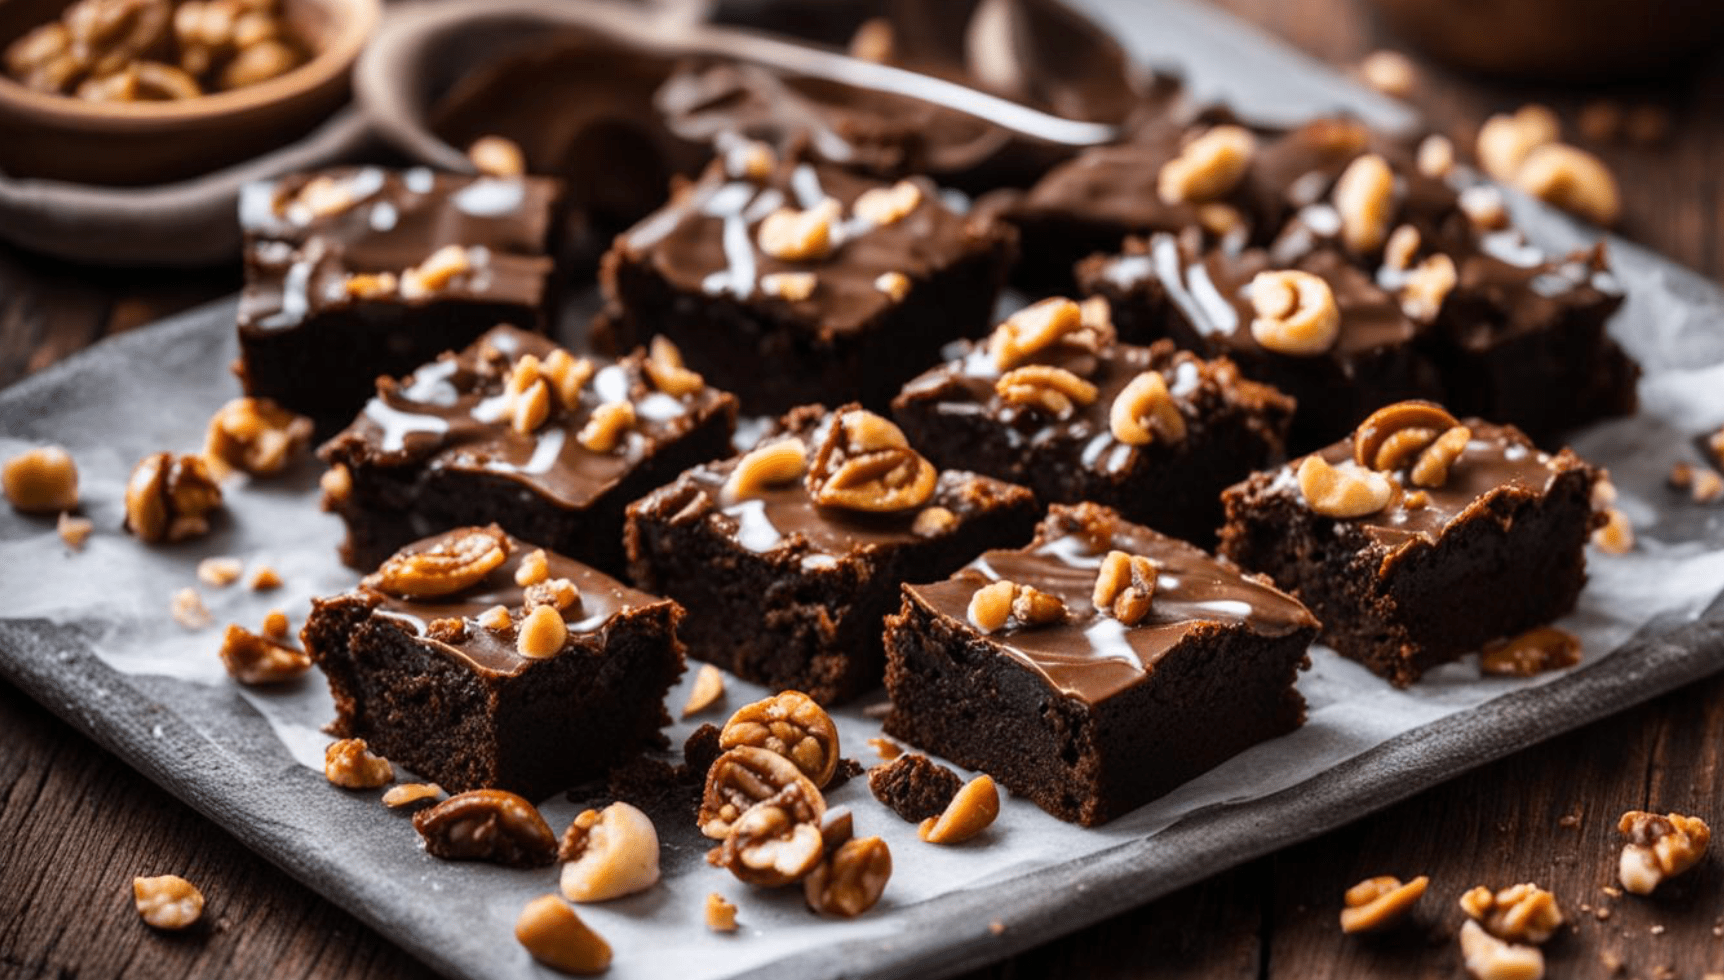
Variations and Additions to Try
Looking to elevate your homemade brownies to the next level? Try adding one or more of these delicious variations:
- Nuts: Add a crunchy texture and nutty flavor with chopped walnuts, pecans, or almonds.
- Caramel: Swirl in some homemade or store-bought caramel sauce for a decadent twist.
- Mint: Add a few drops of peppermint extract to the batter for a refreshing flavor.
- Fruit: Add fresh or frozen fruit like raspberries, strawberries, or cherries for a fruity and juicy twist.
If you’re feeling adventurous, try combining a few of these additions for a unique and delicious brownie experience. For example, add chopped nuts and caramel to the batter for a nutty and sweet flavor combination.
“The possibilities for brownie variations are endless, so don’t be afraid to experiment and get creative!”
Troubleshooting Common Brownie Issues
Baking brownies is a science, and sometimes even the most experienced bakers face common issues. Here are some troubleshooting tips to help you overcome any obstacles when baking brownies in a glass pan.
Issue #1: Undercooked Center
One of the most common issues is an undercooked center, which can be frustrating after waiting for the brownies to bake. To avoid this, make sure to preheat your oven before baking and check the brownies with a toothpick or a cake tester in the center before removing them from the oven. If the tester comes out clean, your brownies are ready to be removed.
Issue #2: Dry Brownies
Dry brownies can occur due to various reasons, such as overbaking or using too much flour. To prevent dry brownies, make sure to measure your ingredients accurately, and do not overmix the batter. Also, make sure not to overbake the brownies, as this can cause them to dry out.
Issue #3: Uneven Browning
Uneven browning can occur when the heat is not distributed evenly throughout the oven. To solve this issue, place your glass pan in the center of the oven, away from the sides and the heating element. You can also rotate your pan halfway through the baking time to ensure even browning.
Issue #4: Crumbly Brownies
Crumbly brownies can happen when the fat to flour ratio is not balanced. To avoid this, make sure to follow the recipe and measure your ingredients accurately. You can also try adding an extra egg or a tablespoon of melted butter to the batter to help bind the ingredients together.
Issue #5: Sticking Brownies
Sticky brownies can be frustrating when trying to remove them from the glass pan. To avoid this, make sure to properly grease and line your pan before baking. You can also place your brownies in the refrigerator for a few minutes before trying to remove them, as this can help firm them up and make them easier to remove.
With these troubleshooting tips, you can overcome common brownie issues and achieve perfect brownies every time. Remember, practice makes perfect, so don’t be afraid to experiment and adjust the recipe to your liking. Happy baking!
Conclusion
Congrats on completing the simple recipe guide for baking delicious brownies in a glass pan. With these easy-to-follow steps, you should be able to bake perfect brownies every time! Remember to gather high-quality ingredients, properly prepare your glass pan, and mix the batter until it’s smooth and fudgy. Adding chocolate to your brownie batter is always a great idea, and knowing the ideal baking time and temperature is crucial for achieving the perfect texture.
When cooling and cutting your brownies, be sure to follow the steps outlined in this guide to keep them fresh and delicious. And if you’re looking to get creative, try out some of the variations and additions we suggested. Finally, if you encounter any issues when baking brownies, refer to our troubleshooting tips to ensure you overcome them.
Thanks for reading, and happy baking! With this easy brownie recipe, you’ll be able to make homemade brownies that are sure to impress.
FAQ
Can I use a glass pan to bake brownies?
Absolutely! Glass pans are a great option for baking brownies. Just make sure to follow the recipe instructions and adjust the baking time and temperature if necessary.
What is the best brownie recipe for beginners?
Our easy brownie recipe is perfect for beginners. It’s simple to follow and yields delicious results every time. Give it a try!
How do I prevent my brownies from sticking to the glass pan?
To prevent sticking, it’s important to properly grease or line your glass pan before adding the brownie batter. This will ensure easy removal and intact brownies.
Can I add different mix-ins to my brownie batter?
Absolutely! Adding mix-ins like chocolate chips, nuts, or even caramel can enhance the flavor and texture of your brownies. Get creative and try different combinations.
What is the ideal baking time and temperature for brownies in a glass pan?
The baking time and temperature can vary depending on your oven and the thickness of the brownie batter. However, a good starting point is usually around 350°F (175°C) for 25-30 minutes. Keep an eye on them and perform the toothpick test to check for doneness.
How do I know when my brownies are done baking?
You can test the doneness of your brownies by inserting a toothpick into the center. If it comes out with a few moist crumbs clinging to it, the brownies are done. If the toothpick comes out clean, they may be overbaked.
How should I cool and cut my brownies?
Allow the brownies to cool completely in the glass pan before attempting to cut them. This will help them set and maintain their shape. Use a sharp knife and wipe it clean between each cut for neat and even slices.
How should I store my homemade brownies?
To keep your brownies fresh, store them in an airtight container at room temperature. They can last for several days. If you prefer a longer shelf life, you can refrigerate them for up to a week or freeze them for a couple of months.
Can I customize my brownie recipe with different flavors?
Absolutely! Feel free to experiment with different flavors and mix-ins to create your own unique brownie variations. From mint to fruit, the possibilities are endless.
What can I do if my brownies turn out undercooked or dry?
If your brownies are undercooked, you can continue baking them for a few more minutes until they reach the desired consistency. If they turn out dry, try adding a scoop of ice cream or a drizzle of chocolate sauce when serving to add moisture and enhance the flavor.
Any tips for troubleshooting common brownie issues?
If you encounter issues like undercooked centers, dry brownies, or uneven browning, there are a few things you can try. Adjusting the baking time and temperature, using an oven thermometer for accuracy, and ensuring your ingredients are properly measured can help resolve these problems.